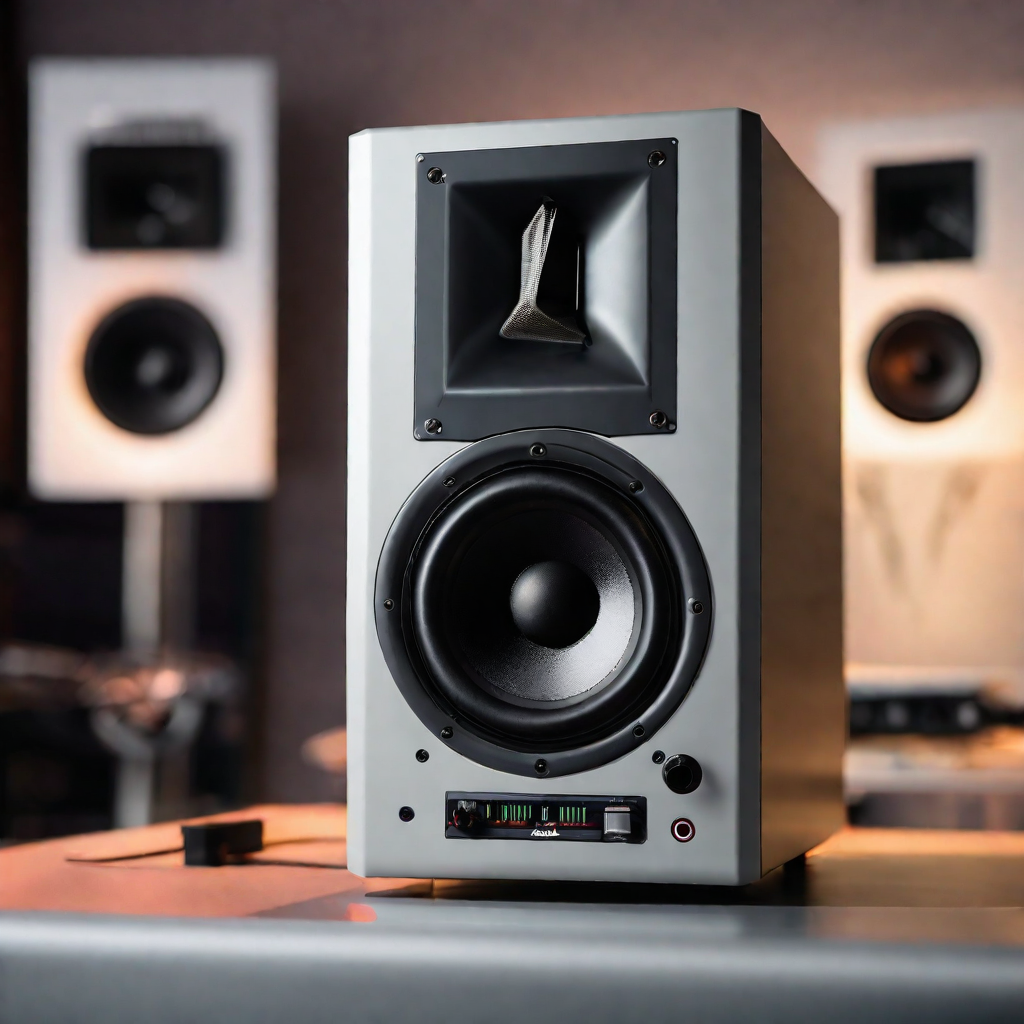
Getting perfectly balanced, tonally accurate monitors is critical for mixing and mastering. Even the best studio monitors need proper calibration to overcome room issues.
Calibrating your studio monitors means tuning them specifically for your room’s acoustics. This achieves a flat frequency response to make mixing decisions easier.
Follow these 10 steps to calibrate your studio monitors and hearing.
1. Position Monitors Correctly
Proper positioning forms the foundation of monitor calibration:
- Place monitors at ear level pointed towards your mix position in an equilateral triangle layout.
- Keep monitors away from walls to avoid bass buildup.
- Angle speakers inward so sound reaches you directly before reflecting.
- Sit at least 3 feet away for nearfield monitors or further for midfields.
This setup puts you in the monitors’ sweet spot for minimizing room effects.
2. Treat Early Reflections
Sound reflecting off surfaces causes peaks, nulls and distortion in your frequency response.
First reflection points are prime locations for acoustic treatment:
- Place absorption panels on walls/ceiling at reflection points.
- Foam or fiberglass panels help absorb reflections before they reach your ears.
- This clears up imaging and tightens bass response.
3. Address Room Modes
Every room has resonant frequencies causing peaks and valleys called room modes.
Low-frequency room modes are particularly problematic, muddying your bass response.
- Use bass traps in corners to absorb low-end buildup.
- Helmholtz resonators tune specific modes.
- LEDE or non-environment design prevents modes using absorption.
This flattens phantom peaks so you can hear true bass response.
4. Match Levels
Set your monitors to equal loudness so one doesn’t dominate:
- Send pink noise to both speakers.
- Adjust levels until noise floor sounds identical in each speaker.
- Use an SPL meter to match within +/- 0.5 dB.
Now volume discrepancies won’t skew your mixing decisions.
5. Set Speaker Angle
Angling speakers too far inward or outward can degrade imaging and frequency response.
Find the ideal angle:
- Start at 20 degrees inward from straight forward.
- Mix content you know well, focusing on clarity.
- Slowly adjust angle in 5 degree increments.
- The best imaging and tone is your optimal angle.
Different brands have varying ideal angles, so take time to dial yours in.
6. Check Polarity
If monitors are out of phase, sound will lack focus and low-end power:
- Play a track with sub-bass like a sine wave or kick drum.
- Hit the phase invert switch on one monitor.
- The loudest setting with the fullest low-end has correct polarity.
This step ensures your monitors work together, not against each other.
7. Consider Isolation Pads
Decoupling monitors from your desk surface reduces distortion and resonance:
- Isolation pads absorb vibrations and reflections.
- This prevents muddiness for clear imaging.
- Pads also allow angling monitors down towards your ears.
- Foam, rubber and sorbothane are common pad materials.
Give your monitors the proper acoustic space for defined bass.
8. Equalize Room Modes
Even with acoustic treatment, some room modes may persist. These can be equalized out:
- Use a measurement mic to detect problem modes.
- Apply narrow notch EQ cuts to smooth out the response.
- Target the most resonant frequencies first.
- Be conservative with cuts to retain tonality.
EQ should come after optimizing positioning and acoustics.
9. Calibrate to a Target Curve
For truly flat response, calibrate monitors to a target curve:
- Use software like Room EQ Wizard to measure your frequency response.
- Compare to a standard target curve like X-Curve.
- Apply EQ to your monitors to match the target curve.
- This corrects any lingering peaks or nulls.
Now your monitors directly translate to any room.
10. Listen At Low Volumes
Don't solely mix loud - regularly check your mix at low volumes:
- Don't rely on your ears acclimating to loud monitoring levels.
- The Fletcher-Munson curve means EQ needs change with volume.
- Analyze delicate instrumentation details at -20dB or lower.
- Trust your mix instincts at whisper levels.
This provides a fresh low-fatigue perspective on your mix decisions.
Calibrating your studio monitors to your room's acoustics is a must for achieving a neutral tonal balance. Follow these 10 tips - position, treat, isolate, level match, EQ - to get the most from your monitors.
Accurate calibrated monitors ensure your mixes translate reliably anywhere. So take time to tune your most important studio tools.


